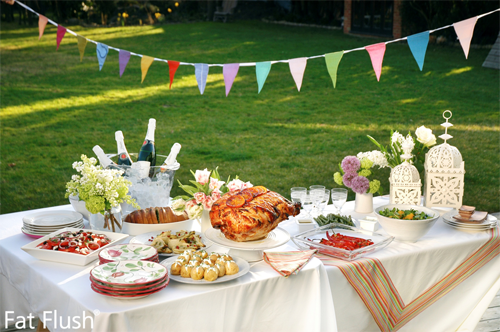
You’ve worked so hard to stay on track but as we plunge into BBQ season, new challenges come with the territory. Try these tips to keep your weight loss success rolling:
1. Be prepared. Bring your favorite Fat Flush-friendly dish to share so you know there will be something there you can snack on. Some fresh veggies coupled with some yummy Fat Flush Salsaare a classic that everyone loves!
2. Hit the veggies first. Loading your plate with a fresh salad or grilled veggies will leave less room for unhealthy options that might pop up on down the table.
3. Mix up a big batch of cran-water for your ice chest. This will keep you away from sodas and alcoholic beverages loaded with sugar.
4. Stay hydrated. Besides the obvious “it’s good for you” reason, and keeping you away from sugar, continuous cran-water sippin’ will keep your tummy fuller so you won’t accidentally overeat.
5. Be a salad-snob. Just because it’s called a “salad” does NOT mean you need a heaping helping! Potato salad, macaroni salad—and the like— can be dangerously rich in dressing and add-in’s. Try our FF-friendly Potato Salad recipe!
6. Make some moves. Away from the food, that is. Make your healthy selections then find a spot to sit and nibble that is away from the food. This will help you stick to what’s on your plate without grazing on some possible naughty options.
7. If BBQ chicken is on the menu, have at it! But avoid extra sugars and sodium by peeling off the sauce-soaked skin before you chow down.
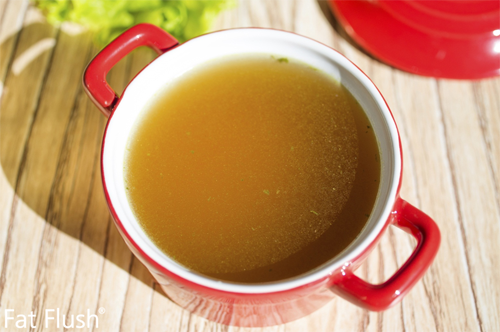
Homemade broths and stocks are something you can make a big batch of and use for LOTS of different recipes.
Don’t have the time to make a fresh broth every time you need it? Try making a big batch and freezing in ice cube trays! You can even measure each cube so you know exactly how much is in each— handy later when following a recipe.
After the broth is frozen, you can transfer the cubes to freezer bags for easier storage.
Preparing double —or more— of a recipe and freezing the extra is an easy way to save money, time, and still have a delicious Fat Flush-friendly meal ready whenever you need it!
Here are some tips to help you freeze foods properly from start to finish:
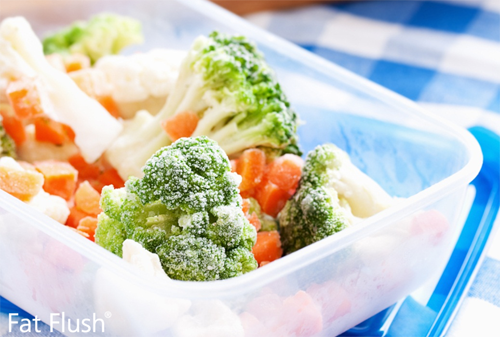
1. Select foods that are freeze-friendly.
This tip takes some trial and error, but try to choose hearty recipes to freeze. All-inclusive meals such as soups, chili, casseroles work well. You can also cook and freeze meats like chicken and beef.
2. Cool the food before freezing.
This may sound redundant, but bare with me. Putting foods in the freezer that are still warm can alter the temperature of the freezer and impact other food you have stored there. (It may even alter the texture and flavor.) The best thing to do is place the food in a shallow container in the fridge until it’s thoroughly cooled.
For soups and stews with some fat content, skim the fat from the top between cooling and freezing. Besides cutting the ‘fat’ content— literally— this detail lengthens the time the dish can spend in the freezer as fat spoils over time, even in the freezer!
3. Efficient storage is key.
Freezer bags work perfectly as long as you remove the air from the bags before sealing. The bags allow the food to lay flat, saving you space but also exposing it to the cold air for a thorough, even freeze. Storing the food in single portions will also help keep the temperature down—the cold air can circulate freely— but it will also save you time later when you can simply thaw as many portions as you need (single helpings, 2, 3, etc).
4. Freeze it fast!
Don’t let the dish sit around the fridge for a few days before you freeze it. The fresher it is when it’s frozen, the better the quality when it’s thawed. Most dishes will keep in the freezer for 2-3 months.
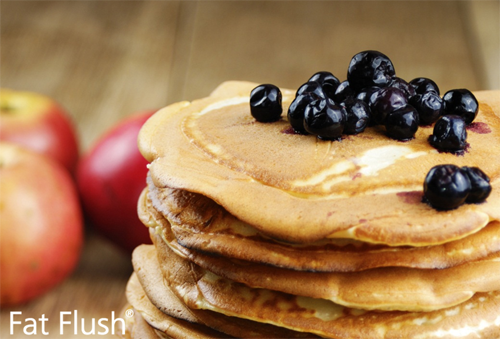
Smoothies are a convenient, delicious, one-stop-shop for a daily helping of essential vitamins and nutrients. (Not to mention all the time and money you save!) But it’s kinda like making a sandwich— there’s a strategy to making the perfect smoothie! Here are some of our most important tips:
1. Order counts!
First measure your water, then add the ice, protein powder and fruit. Blend those until smooth, then add any extras— ie mint, cinnamon, chia seeds, etc. This is to make sure the base ingredients are full incorporated and will give you a smoother texture.
2. Use the hatch!
Most blenders come with a nifty little hatch built into the lid— this is the removable piece in the center of the lid. It’s designed so you can add things while the blender is on, without making a mess. If you’re adding flaxseed oil, this is the spot! After the base ingredients and extras are pretty well incorporated, lift the hatch and stream the oil into the smoothie while the blender is still running. This will fully incorporate the oil into the smoothie which makes it nearly undetectable, and will also give your smoothie a thicker, more rich texture.
3. Fruit: Fresh or Frozen?
This is definitely your call! Most Fat Flush veterans like to use frozen fruit because you can buy it in bulk and have it on-hand and ready no matter the season. Frozen fruit can also make ice unnecessary because the fruit pieces are like little ice cubes themselves.
4. Save some for later!
Some people like to use smoothies as a time-saver— and we agree. They’re mighty convenient! If you know you won’t have a chance to cook later, or can’t make another smoothie, it is possible to make 2 smoothies in a batch, freezing one for later. Depending on the efficiency of your freezer, it can come out later as more of an ice cream treat than a protein smoothie! Jackpot! If it’s too frozen when you take it out, just let it sit at room temperature for a few minutes until it’s thawed to just the right texture. (You may want to stir it again just to be sure it’s all mixed up.)
These tips are based purely on our experiences and feedback from other Fat Flush smoothie-makers. If something doesn’t work for you, feel free to experiment and find the way to make your perfect smoothie!