The rules and warnings about stretching are all over the map. Here’s what you need to know…
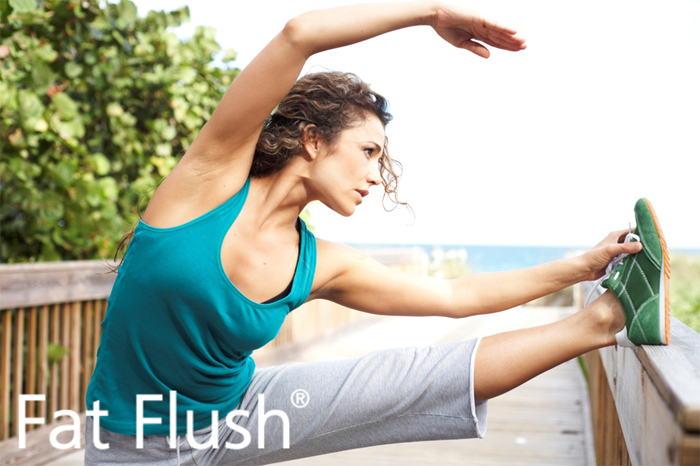
One of the most crucial parts of your workout is the cool-down stretch. Stretching keeps your connective tissues elastic. It also helps your body flush out the lactic acid that accumulates in your muscles after exercise—the same lactic acid that contributes to aches and pain. Finally, stretching improves the range of motion in your joints and muscles and helps relieve stress and prevent injury.
Stretching is especially important as you get older. Our joints tend to lose some of their flexibility, but this tendency can be combated by regular stretching. The younger you are when you start stretching, the move flexible you’ll be as you get older. Static stretches are a classic way to enhance flexibility. These stretches are a slow, gradual, and controlled elongation that brings muscles through the full range of motion. Hold them for fifteen to thirty seconds in the furthest comfortable position, without pain.
Proper Stretching Tips
Stretch your muscles when they are warm, not cold. After cardio activity is a good idea because your large muscles are warm and flexible.
Focus on the muscle you’re stretching.
Breathe deeply while you stretch. If you inhale as you begin your stretch, you’ll find that your muscles extend comfortably even further. For stretches that require you to bend forward, exhale as you bend forward and inhale slowly as you hold the stretch.
Move into the stretch until you feel a slight tension, but no pain. The stretch should feel good, even if your muscle feels slightly achy.
Hold the stretch for ten to thirty seconds. If you are a beginner or have rarely stretched before, start with ten seconds and gradually increase to thirty seconds.
Release the stretch slowly. Never bounce or jerk out of the stretch- that can trigger the stretch reflex, which causes the muscle to tighten, rather than relax, to protect itself from injury.
Exercise is one component of weight loss— it’s a scientific fact. But that doesn’t mean your only options are weight lifting or marathon running. One of our favorite Fat Flushing ways to move that bod is rebounding!
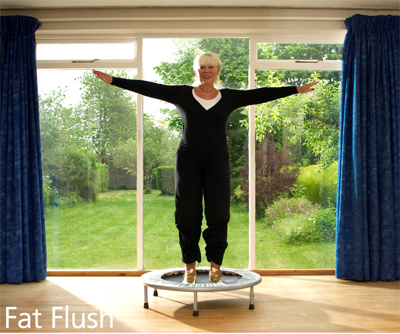
What is Rebounding?
Rebounding is a form of cardio exercise that stimulates the lymphatic system. The up-and-down jumping motion on the minitrampoline (known as a “rebounder”) parallels the way lymph nodes function, opening and closing vertically.
How Does This Impact Weight Loss?
Think of your lymphatic system as the body’s garbage disposal. It gathers and transports waste, bacteria, and other junk in your body. When the lymphatic system isn’t pumping properly, fluid accumulates around cells which can result in excess weight…and even cellulite! Your cells get a good squeeze from the bouncing, which helps move that stored waste out.
Anytime, Anyplace
Rebounding is also one of the most versatile exercises! It can be done inside or outdoors, at any time of day, which means rebounding is an excuse-proof exercise. Do it in the living room while watching your favorite TV show, at work on your lunch break, in a tiny apartment or spare bedroom.
Check out our favorite little trampolines at ReboundAir and get movin’!
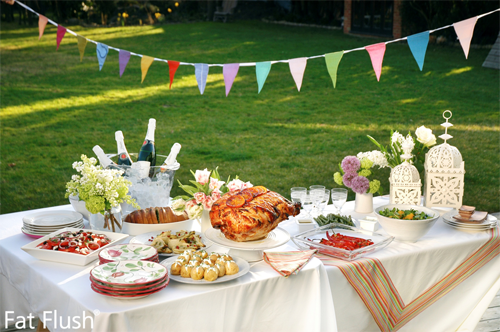
You’ve worked so hard to stay on track but as we plunge into BBQ season, new challenges come with the territory. Try these tips to keep your weight loss success rolling:
1. Be prepared. Bring your favorite Fat Flush-friendly dish to share so you know there will be something there you can snack on. Some fresh veggies coupled with some yummy Fat Flush Salsaare a classic that everyone loves!
2. Hit the veggies first. Loading your plate with a fresh salad or grilled veggies will leave less room for unhealthy options that might pop up on down the table.
3. Mix up a big batch of cran-water for your ice chest. This will keep you away from sodas and alcoholic beverages loaded with sugar.
4. Stay hydrated. Besides the obvious “it’s good for you” reason, and keeping you away from sugar, continuous cran-water sippin’ will keep your tummy fuller so you won’t accidentally overeat.
5. Be a salad-snob. Just because it’s called a “salad” does NOT mean you need a heaping helping! Potato salad, macaroni salad—and the like— can be dangerously rich in dressing and add-in’s. Try our FF-friendly Potato Salad recipe!
6. Make some moves. Away from the food, that is. Make your healthy selections then find a spot to sit and nibble that is away from the food. This will help you stick to what’s on your plate without grazing on some possible naughty options.
7. If BBQ chicken is on the menu, have at it! But avoid extra sugars and sodium by peeling off the sauce-soaked skin before you chow down.
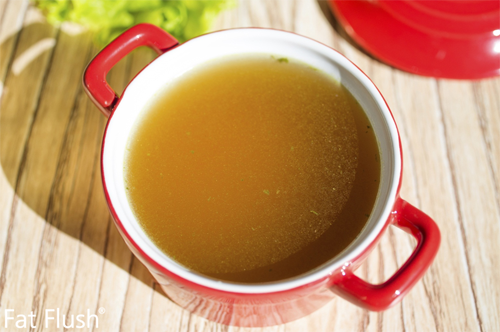
Homemade broths and stocks are something you can make a big batch of and use for LOTS of different recipes.
Don’t have the time to make a fresh broth every time you need it? Try making a big batch and freezing in ice cube trays! You can even measure each cube so you know exactly how much is in each— handy later when following a recipe.
After the broth is frozen, you can transfer the cubes to freezer bags for easier storage.